Make DIY Chair with PVC Fittings with 90-Degree Elbows and Tees
If you're looking for a simple, affordable, and fun DIY project, building your own chair using PVC fittings is a great place to start. With just a few tools and quality components from 247Garden, you can create a sturdy, lightweight chair that’s perfect for indoor or outdoor use. This project is ideal for DIYers of all levels and requires minimal cutting and assembly.
Why Use 247Garden PVC Fittings?
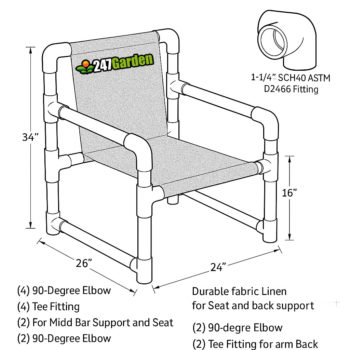
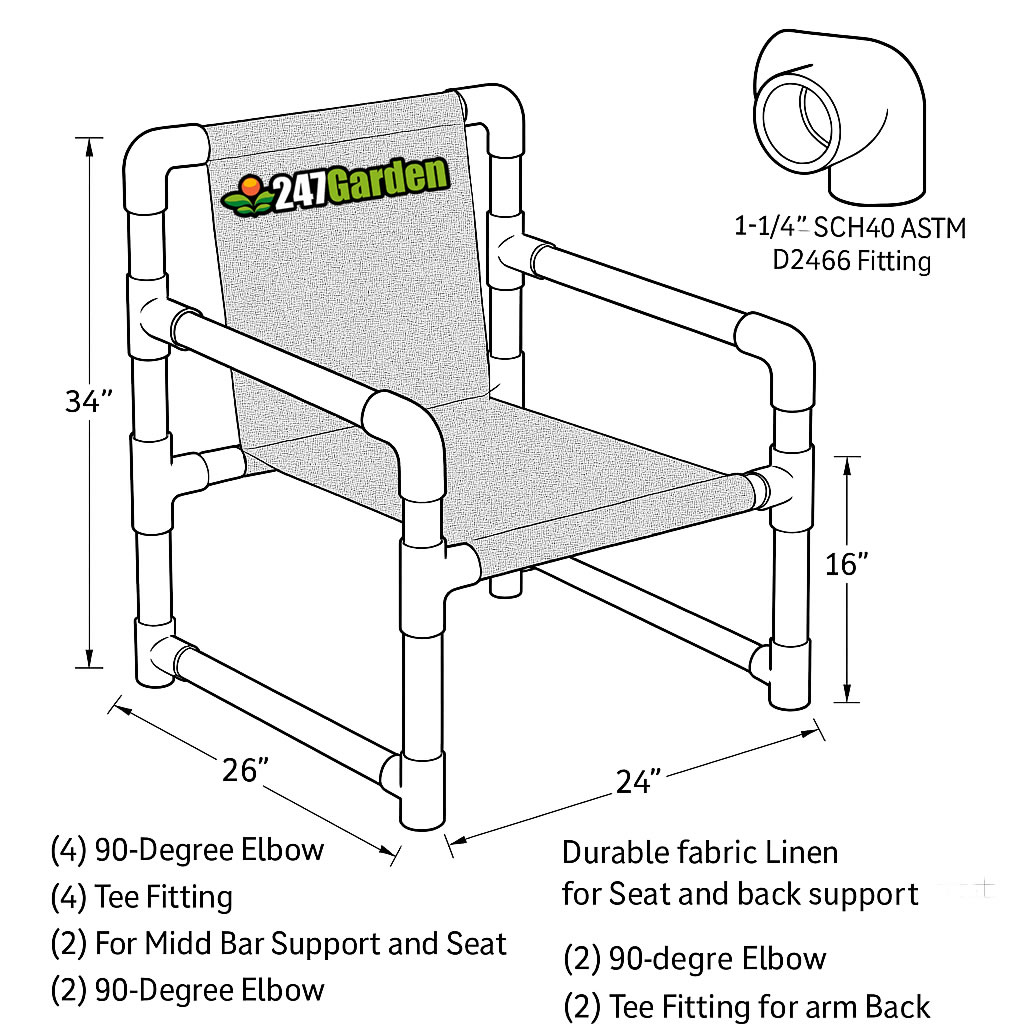
At 247Garden, we offer both plumbing-grade and furniture-grade Schedule 40 PVC fittings that meet ASTM D2466 standards, ensuring strength, consistency, and compatibility. For this project, we recommend using 1-1/4” SCH40 fittings for a solid, stable frame with a professional finish.
Materials You’ll Need
Here’s a list of parts and tools needed for your DIY PVC chair:
Recommended PVC Fittings (All 1-1/4” SCH40 ASTM D2466)
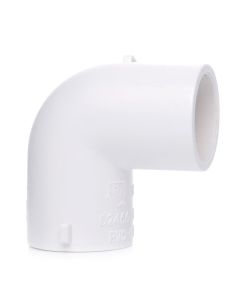
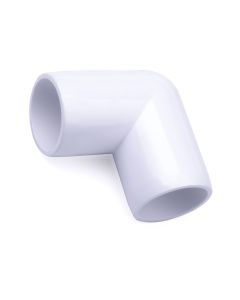
- (4) 90-Degree Elbows or Tee Fittings – Used at the base of the chair legs.
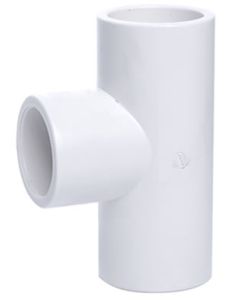
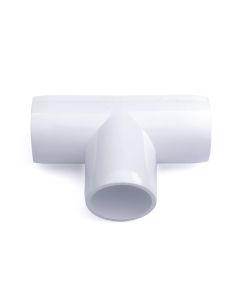
- (4) Tee Fittings – For connecting crossbars under the seat and stabilizing the base.
- (2) 90-Degree Elbows – To shape the front corners of the armrests.
- (2) Tee Fittings – For connecting the back armrest support.
- (2) 90-Degree Elbows – To finish off the top of the backrest.
PVC Pipes
- Recommend using 1-1/4” Schedule 40 PVC Pipe (Available at 247Garden)
- Suggested pipe cuts (all in inches):
- (4) Legs – 16” Total Length
- (2) Front/Back Bottom Base – 20”
- (2) Side Base to Seat Support – 18”
- (2) Middle Seat Support – 20”
- (2) Armrest Side Bars – 18”
- (1) Backrest Horizontal Bar – 20”
- (2) Vertical Backrest Uprights – 18”
- (1) Backrest Top Crossbar – 20”
Total PVC Pipe Required: ~18 feet (Always buy a little extra in case of adjustment). This is only a suggestion. You have to know the height of the chair for your own comfort!
Other Materials
- Durable outdoor linen or canvas fabric (for seat and backrest)
- Rivets, screws, or heavy-duty zip ties (for securing fabric)
- PVC cement (optional, for permanent joints)
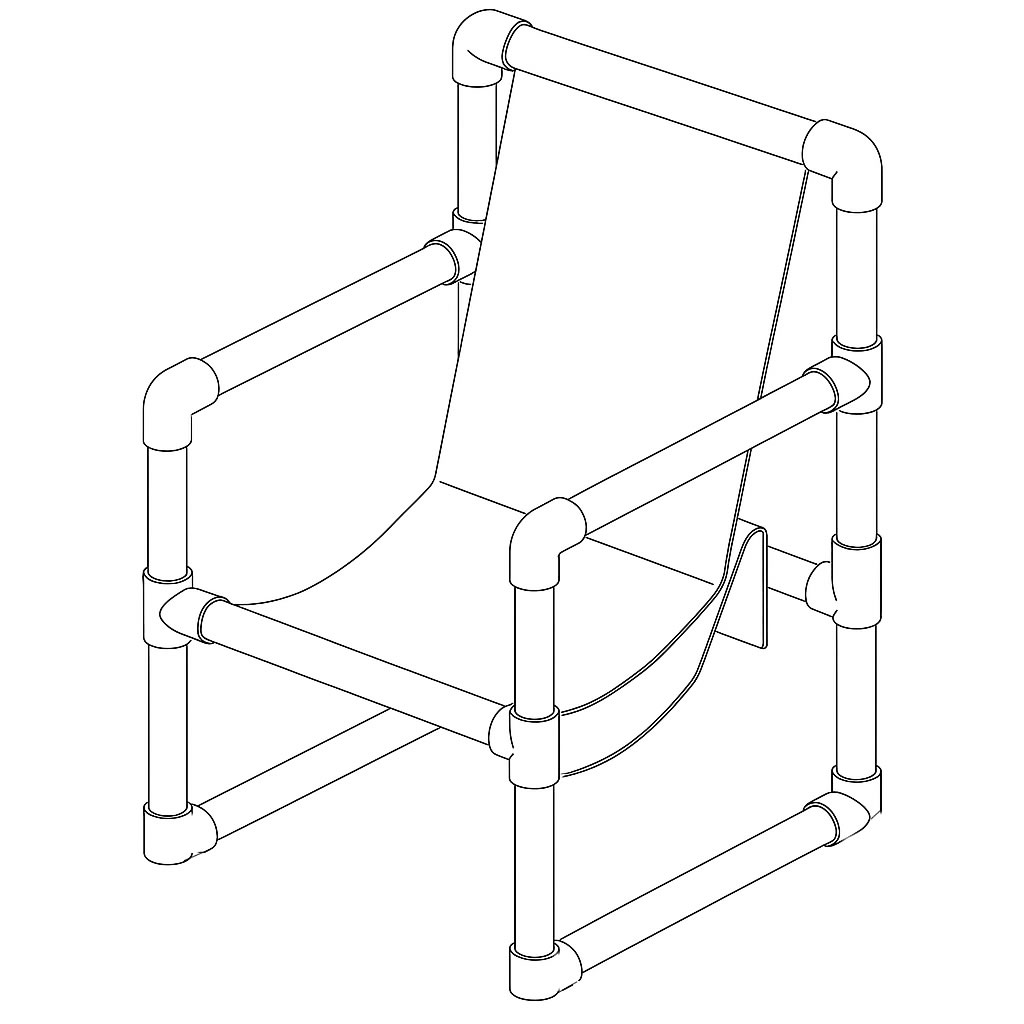
Assembly Instructions
Step 1: Build the Base Frame
- Connect (2) tee fittings and (2) 90-degree elbows to form the front and back rectangular base using (2) 20” horizontal and (2) 16” vertical leg pieces.
- Use tee fittings in the middle of both the front and back to prepare for seat support.
Step 2: Add the Seat Support
- Connect (2) 18” side pipes from the front to the back tee fittings.
- Insert (2) 20” pipes across the middle tees to support the seat fabric.
Step 3: Add the Armrest and Back Support
- Use (2) 90-degree elbows in the front to create the armrest curve.
- Run (2) 18” pipes along the armrests, connecting to (2) tee fittings at the back.
- Insert (2) 18” upright pipes into the back tee fittings for the backrest uprights.
- Finish with (2) 90-degree elbows and a 20” top crossbar for the top of the backrest.
Step 4: Add the Fabric Seat and Backrest
- Cut a piece of durable fabric (linen, canvas, or outdoor mesh):
- Seat Panel: 22” W x 18” D
- Backrest Panel: 22” W x 18” H
- Wrap the fabric around the horizontal support pipes and secure tightly with rivets, screws, or heavy-duty zip ties.
Tips for a Sturdy Chair
- Dry-fit all pieces before permanent assembly.
- Use PVC cement if you want a permanent, non-collapsible chair.
- For a cleaner look, use furniture-grade PVC fittings from 247Garden (smooth edges, no barcodes).
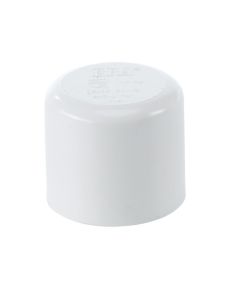
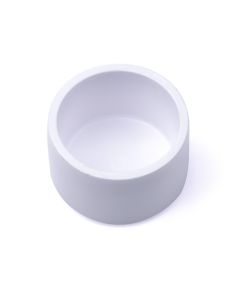
- Add rubber caps or furniture pads to the bottom of the legs for grip and floor protection.
Final Dimensions (Approximate)
- Seat Height: 16”
- Total Width: 22”
- Total Depth: 20”
- Backrest Height: 34”
Build with Confidence—Use 247Garden
Whether you’re using it in a patio, greenhouse, playroom, or workshop, this DIY PVC chair offers functionality and comfort without the cost of store-bought furniture. Using 1-1/4” SCH40 PVC fittings from 247Garden guarantees strength and reliability. Browse our wide selection of elbows, tees, caps, and pipes, and get everything you need in one place.