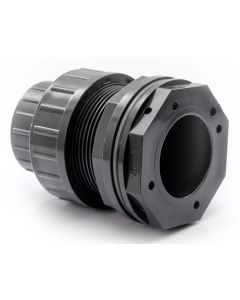
How to Install a PVC Schedule-80 Union Bulkhead Water Tank Adapter in 4 Easy Steps
Step 1: Prepare the Tank Wall
- Drill a clean, properly sized hole in the water tank wall.
- Ensure the edges of the hole are smooth and free from burrs or debris.
Step 2: Insert the Connector
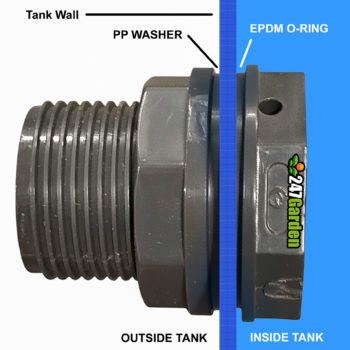
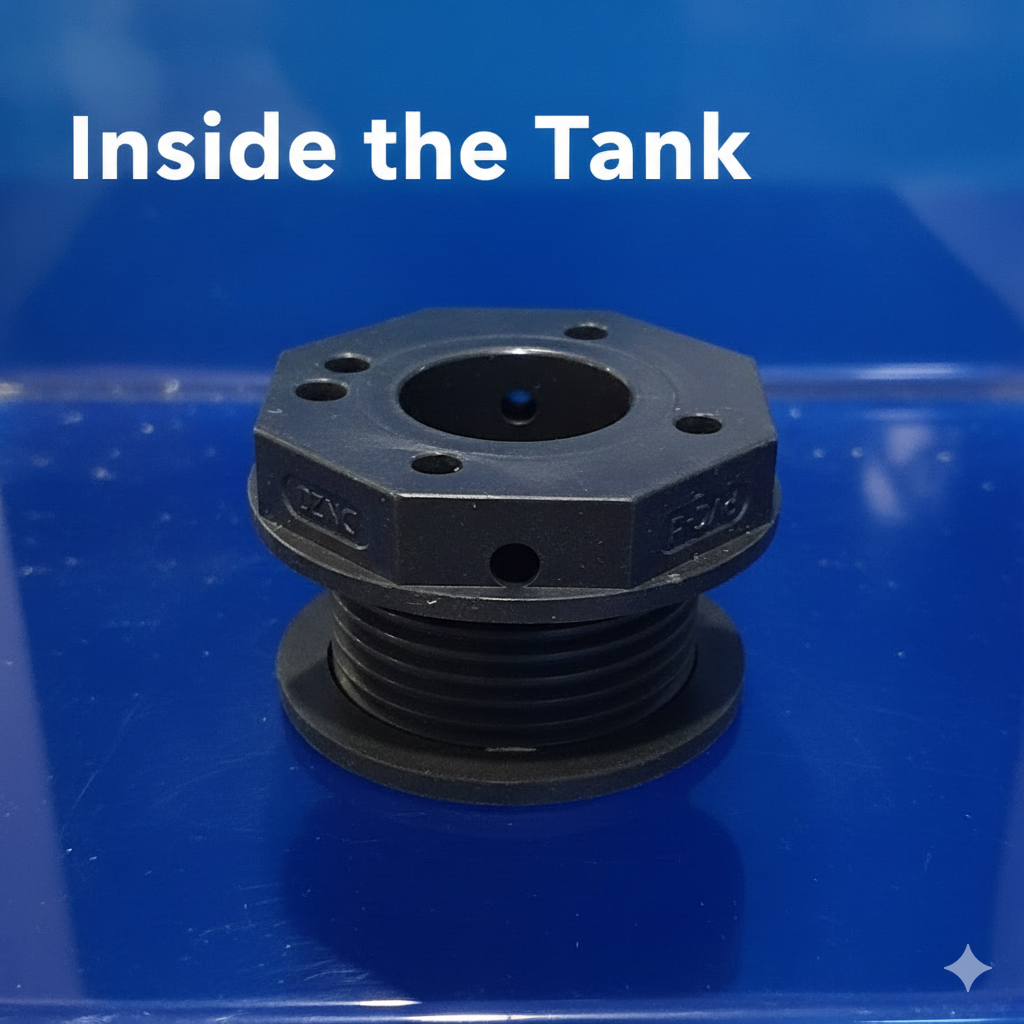
- Insert the PVC Connector through the hole from the inside of the tank wall.
- Place EPDM O-Ring on the connector so it sits flush against the inner wall which helps creates the first watertight seal inside the tank.

Step 3: Install Washer and Cap
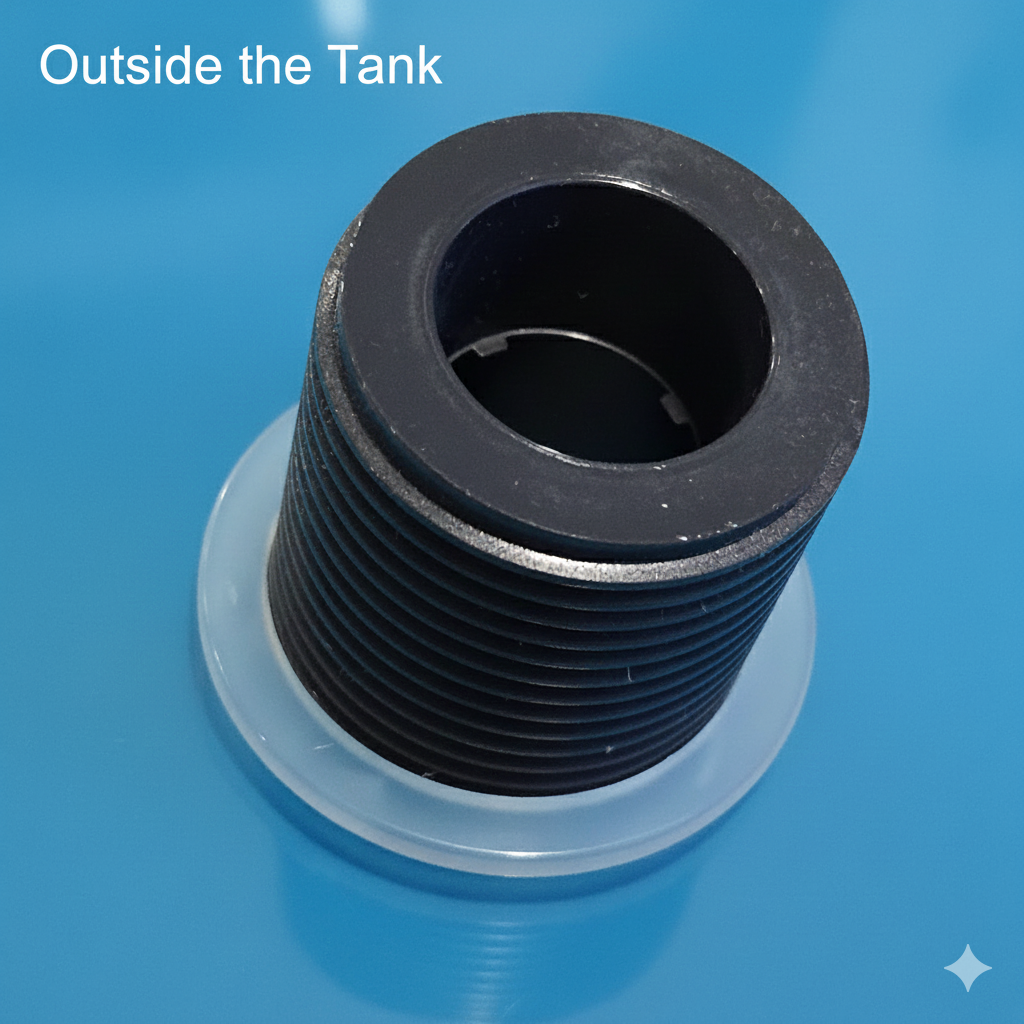
- On the outside of the tank wall, slide the PP Washer over the connector threads.
- Thread the PVC Connector Cap onto the connector, tightening it by hand until snug.
- This secures the adapter firmly to the tank wall.

Step 4: Test for Leaks
- Fill the tank partially with water.
- Inspect the bulkhead adapter for leaks.
- If leaking, gently tighten the connector cap or socket cap further, being careful not to overtighten.
This completes the installation. The union design allows for easy disassembly and maintenance without removing the entire bulkhead from the tank. If you are looking for a schedule 80 PVC tank connectors, check out the 247Garden SCH80 with Union-Type Connection for easy installation!
Related Products