The 8 Stages of Installations for the Perfect PVC Pipe and Fitting Job by Professionals.
Installing PVC pipe is one of the most common projects in plumbing, irrigation, and drain, waste, and vent (DWV) systems. Whether you’re a professional plumber or a DIY homeowner, following the proper steps makes all the difference between a system that lasts decades and one that fails under pressure.
At 247Garden, we provide high-quality PVC fittings in Schedule 40 and Schedule 80 that are tested, certified, and built for reliability. To help you get the best results, here are the eight stages of installing PVC pipes recommended by all professionals and why 247Garden fittings are the smart choice for your next project.
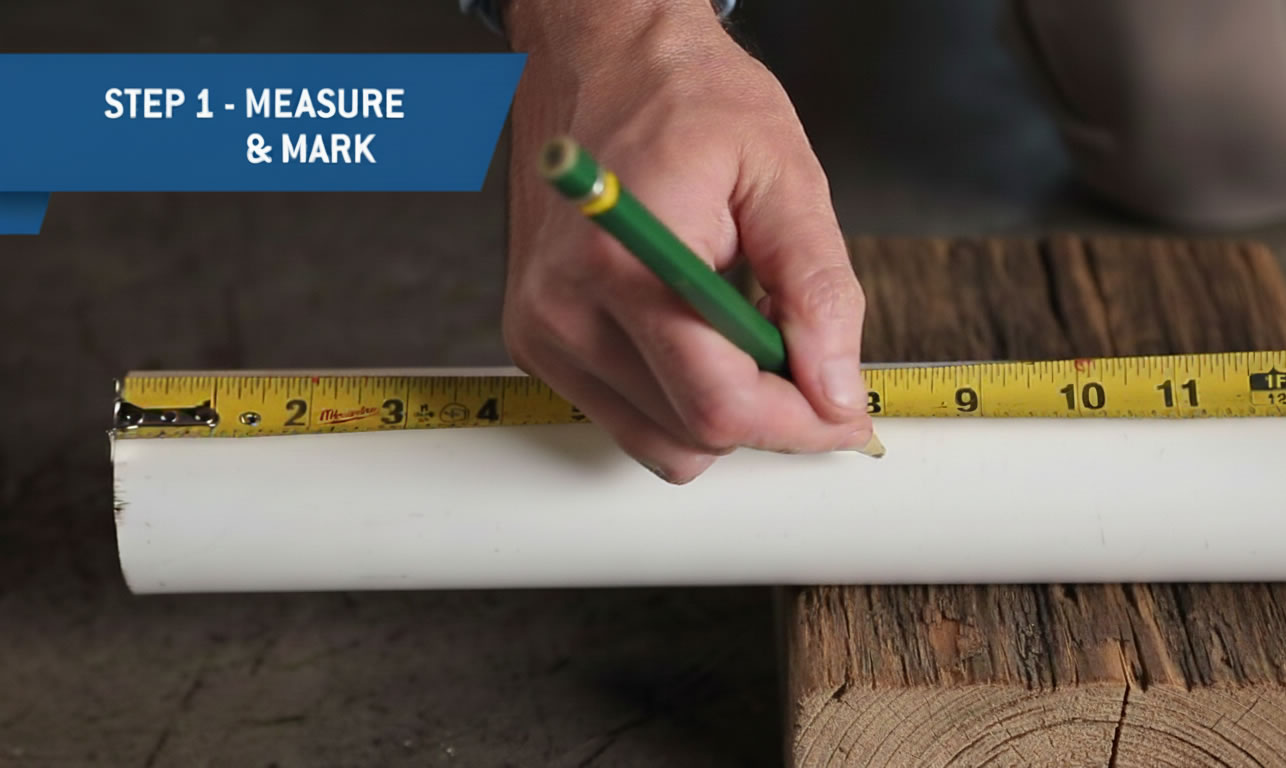
1. Planning and Measurement
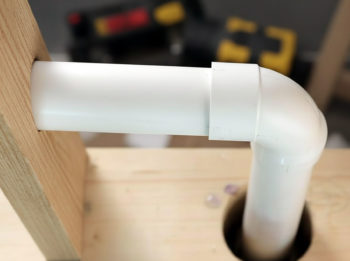
Every successful installation begins with planning. Determine the pipe route, calculate pipe length, and select the right fittings for your system. At this stage, using 247Garden PVC fittings ensures you have access to elbows, tees, couplings, and wyes that are NSF and ASTM compliant.
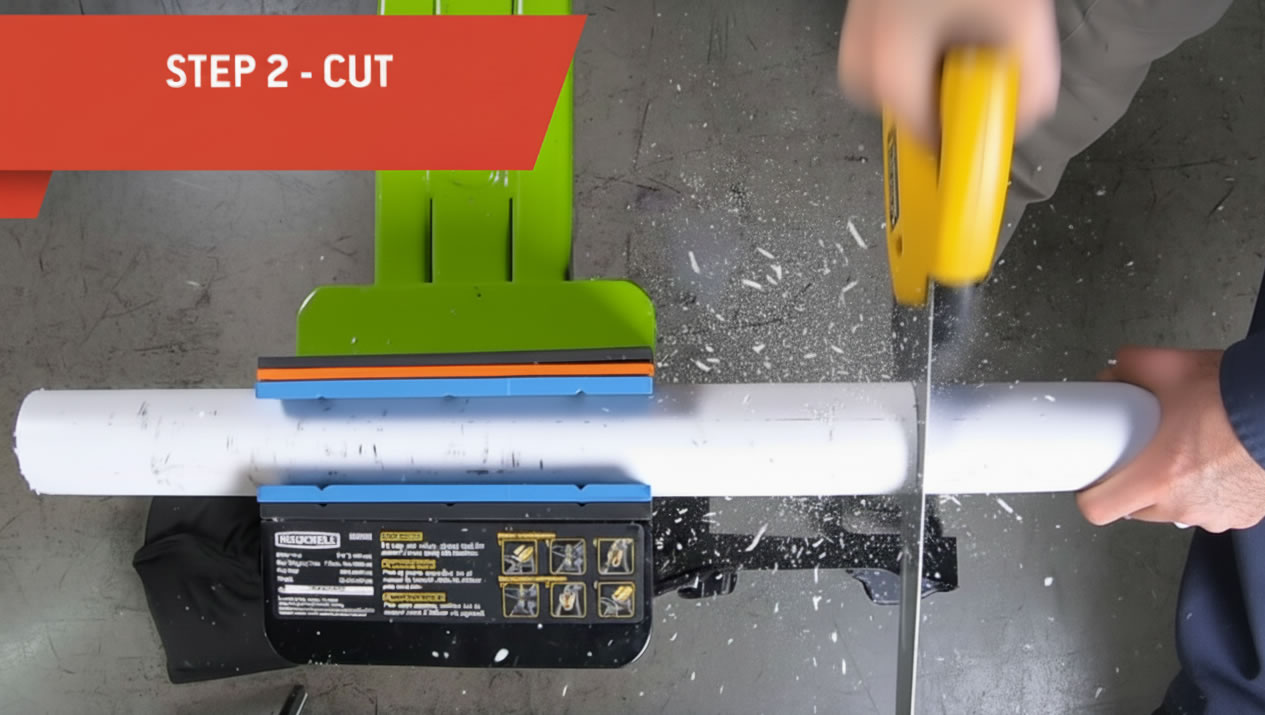
2. Cutting the Pipe
Always cut your PVC pipe square using a fine-tooth saw or pipe cutter. A straight cut guarantees maximum surface contact with the fitting socket. Angled cuts may cause leaks or weak joints.
3. Deburring and Chamfering
After cutting, remove burrs from inside and outside the pipe. A chamfer, or beveled edge, at 10–15 degrees makes the pipe easier to insert and prevents solvent cement from being scraped away during assembly.
4. Dry Fitting
Before reaching for primer and cement, perform a dry fit. Insert the pipe into the fitting, check alignment, and mark positions. This simple step saves time and prevents costly mistakes. With 247Garden fittings, alignment is precise, ensuring a professional finish.
5. Surface Preparation
Clean the pipe end and the fitting socket to remove dust, grease, or moisture. For pressurized systems or code inspections, apply a PVC primer (often purple). This softens the material and prepares it for a strong solvent-weld bond.
6. Applying Solvent Cement
Use the correct PVC cement for your application. Apply a full coat to the pipe and a light coat inside the fitting socket. Work quickly—PVC cement begins curing within seconds.
7. Assembly and Jointing
Push the pipe fully into the fitting while rotating it a quarter turn. Hold the joint firmly for 30–60 seconds to prevent push-back. Wipe away any excess cement for a clean, professional look.
8. Curing and Testing
Let the joint cure as directed by the cement manufacturer. Curing times vary depending on pipe size, temperature, and whether the system is pressurized. Once cured, perform a leak or pressure test to confirm the installation is ready for service.
Why Choose 247Garden PVC Fittings?
- Wide Range of Sizes: From 1/2" to 6", in both Schedule 40 and Schedule 80.
- Certified Performance: Meets or exceeds ASTM D2466, D2467, and NSF standards.
- Versatile Applications: Perfect for plumbing, irrigation, pool, and spa systems.
- Competitive Pricing: Quality you can trust, at prices that fit your project budget.
Final Thoughts
Installing PVC pipe correctly is all about precision, preparation, and the right materials. By following these eight stages, you’ll create a system that performs reliably for years to come. And with 247Garden PVC fittings, you know every connection is backed by quality and tested performance.