How To Use PVC Union Repair Fittings
Introduction: PVC union repair fittings play a crucial role in plumbing, allowing for easy and efficient repairs without the need for extensive system shutdowns. In this comprehensive guide, we will walk you through the step-by-step process of using PVC union repair fittings to address common plumbing issues. Whether you're a DIY enthusiast or a professional plumber, this blog will provide valuable insights into making seamless repairs using these versatile fittings.
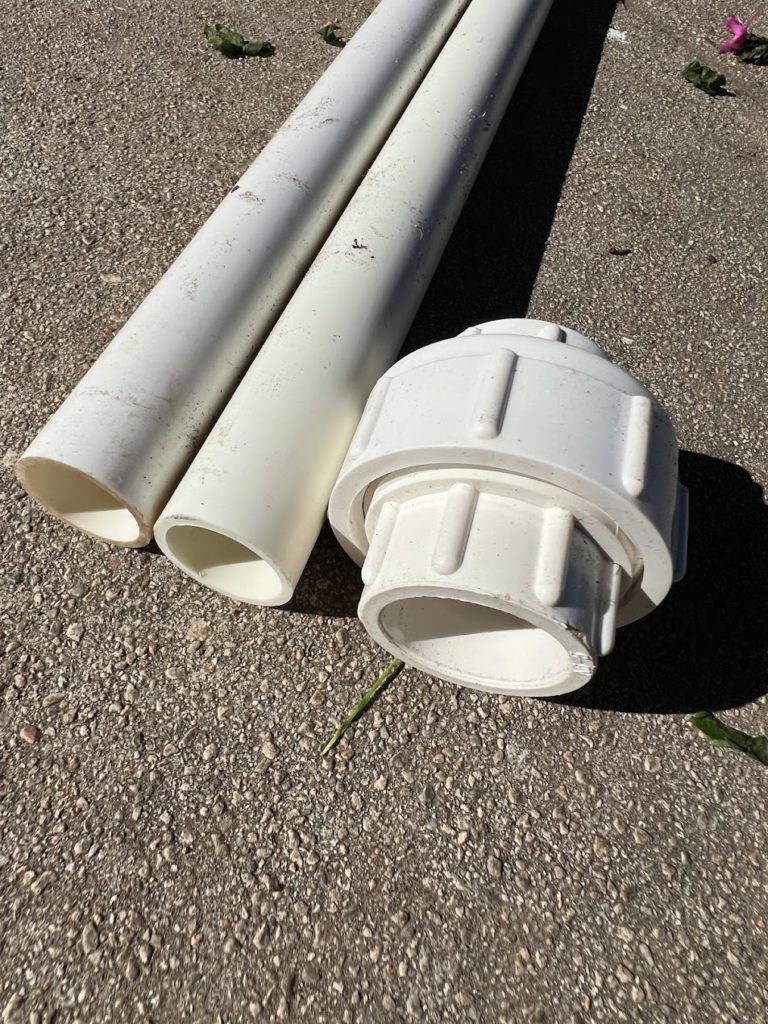
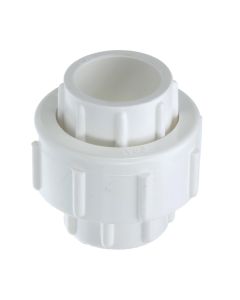
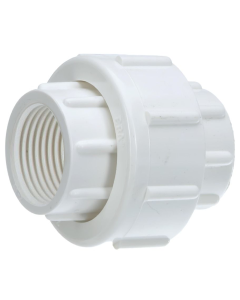
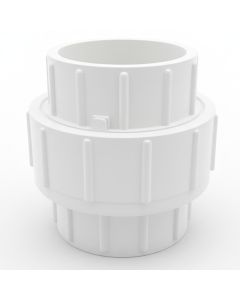
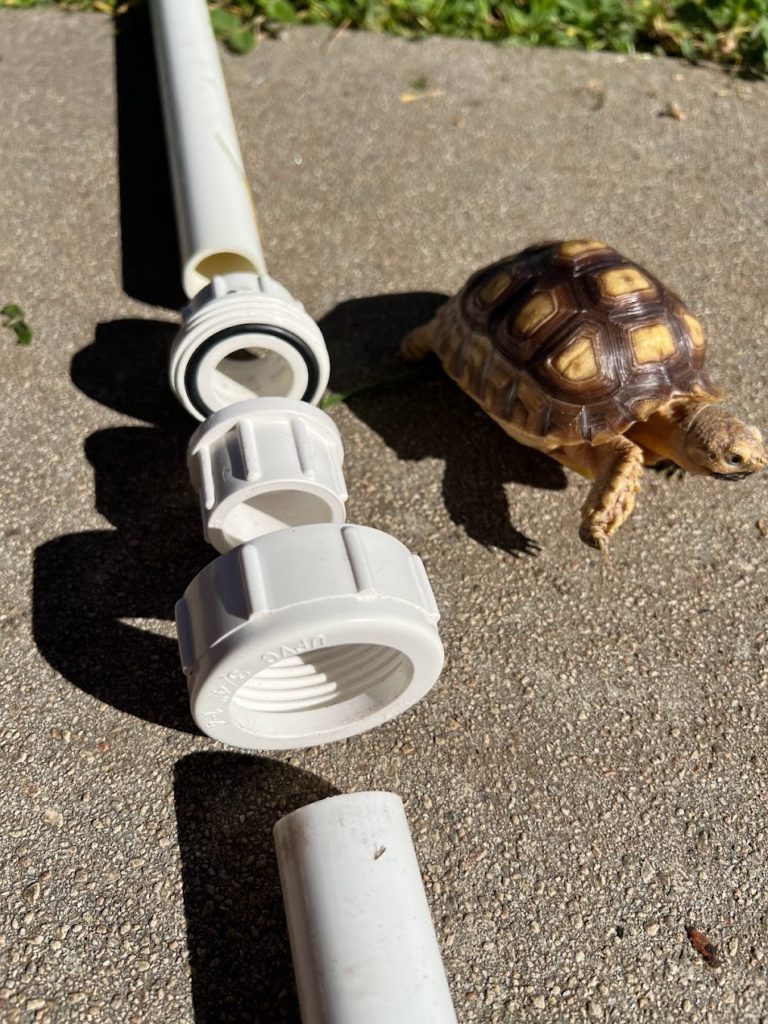
Understanding PVC Union Repair Fittings: PVC union repair fittings consist of two halves. The fittings are designed to connect and disconnect easily, providing a convenient solution for repairs, modifications, or maintenance tasks in plumbing systems. The union design allows for the quick disassembly and reassembly of pipes without the need for cutting or replacing entire sections.
Tools and Materials: Before starting the repair process, gather the necessary tools and materials:
- PVC union repair fittings
- Pipe wrench
- PVC thread sealant
- Pipe cutter or hacksaw
- Emery cloth or sandpaper
- PVC primer and cement

Step-by-Step Guide:
- Turn Off Water Supply:
- Before beginning any plumbing work, turn off the water supply to the affected area. This ensures a safe working environment.
- Identify the Problem Area:
- Locate the section of the PVC pipe that needs repair. Common issues include leaks, cracks, or damaged fittings.
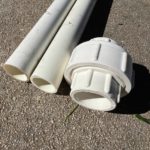
- Prepare the Pipe Ends:
- Cut the PVC pipe on both sides of the damaged area using a pipe cutter or hacksaw. Ensure clean, straight cuts for a proper fit.
- Smooth the Pipe Ends:
- Use emery cloth or sandpaper to smooth the cut ends of the pipes. This promotes a secure and leak-free connection.
- Apply Primer and Cement:
- Apply PVC primer to the outside of the pipe ends and the inside of the PVC union fittings. Follow up with PVC cement on both surfaces.
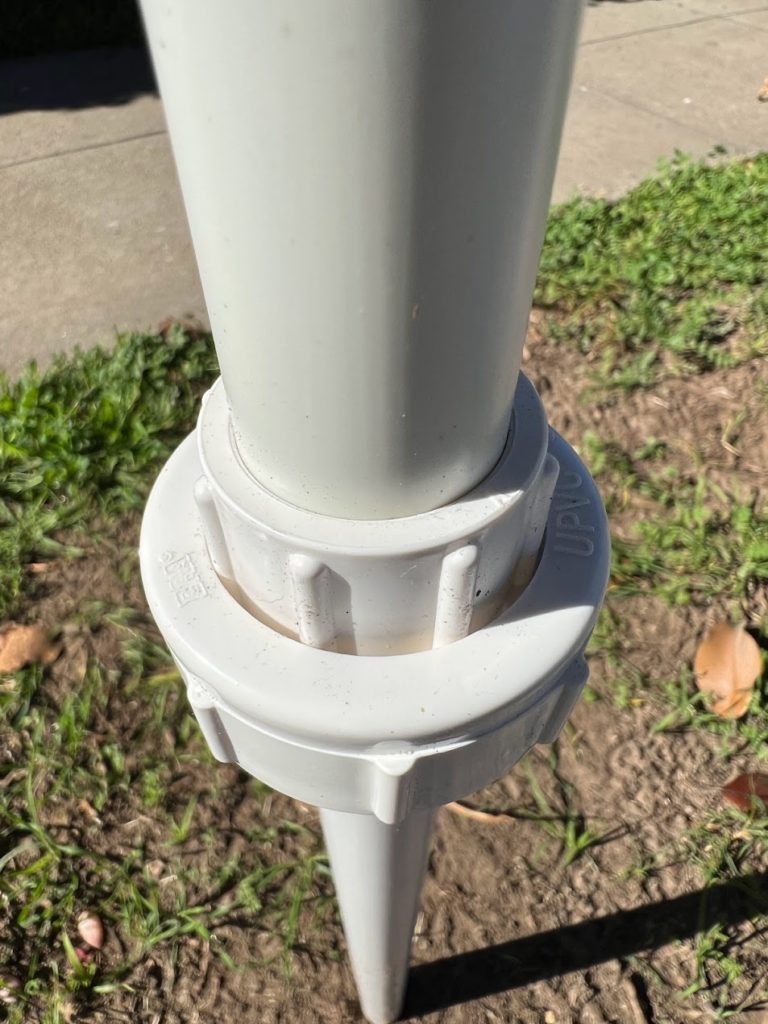
- Assemble the Union Fittings:
- Thread one half of the PVC union fitting onto each prepared pipe end. Tighten the nuts by hand and then use a pipe wrench to secure the connection further.
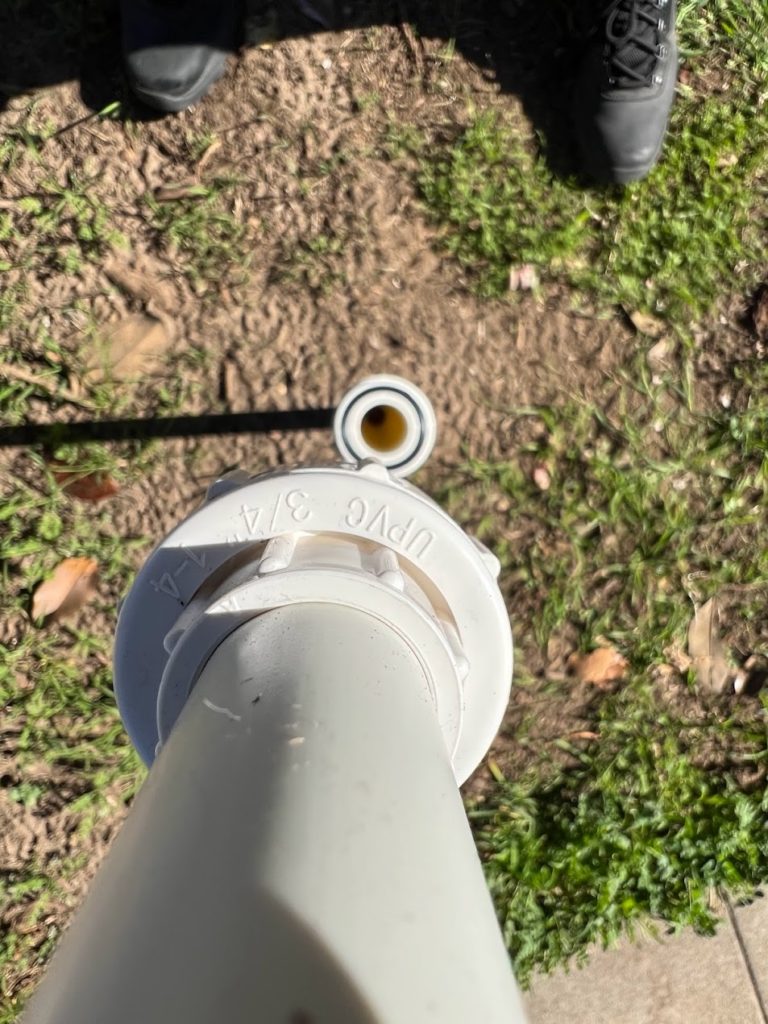
- Check Alignment:
- Ensure that the PVC union fittings are aligned correctly. The pipes should meet at the center of the union.
- Turn On Water Supply:
- Once the union fittings are securely in place, turn on the water supply and check for leaks. If any leaks are detected, tighten the union nuts slightly.
Tips for Success:
- Apply pvc thread sealant to the threaded ends of the union fittings for an additional layer of leakage protection.
- Use a pipe wrench to achieve a tight and secure connection without over-tightening.
- Test the repair thoroughly before closing up the work area.
Conclusion: Using PVC union repair fittings is a practical and efficient way to address plumbing issues. By following this step-by-step guide, you can confidently tackle repairs, ensuring a reliable and long-lasting solution. Whether you're a DIY enthusiast or a professional plumber, mastering the use of PVC union repair fittings will empower you to handle common plumbing challenges with ease.
Credit to the Sprinkler Warehouse
-
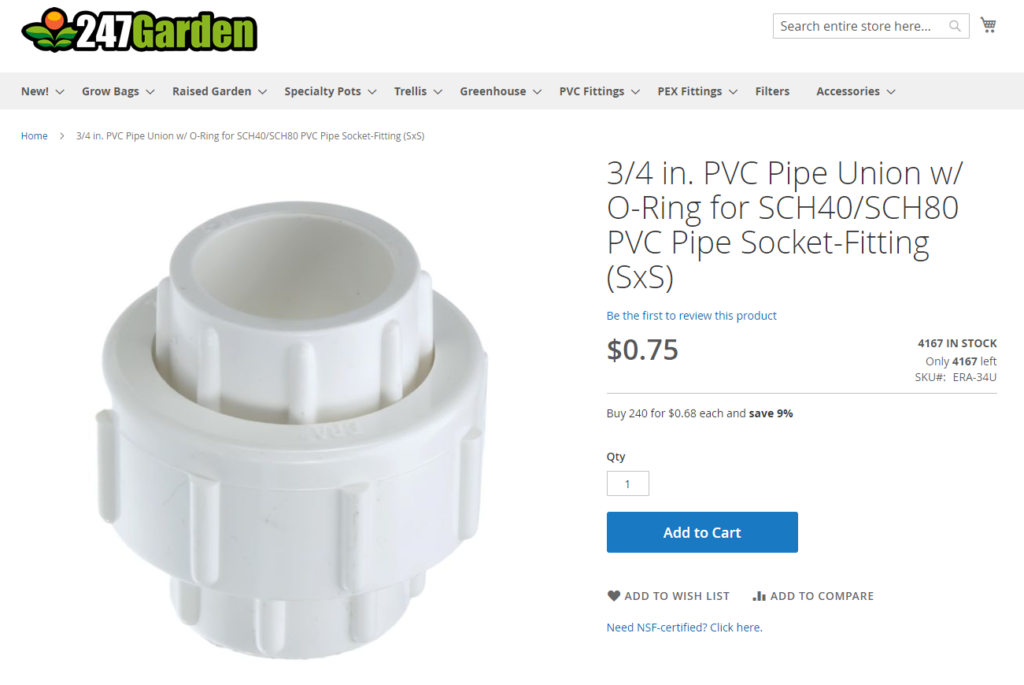
 3/4 in. Schedule 40 PVC PVC Union Sch40/80 Pipe Repair/Joint Fitting, NSF, Socket ASTM D2466/F1970$1.14 As low as $1.030 in stockOut of stock
 -
 3/4 in. Schedule-80 PVC Slip/Socket Union w/ EPDM O-Ring Seals for High Pressure Plumbing System ASTM D2467/F1970Special Price $1.00 Regular Price $1.25906 in stock
 -
 3/4 in. Schedule 80 PVC Union Threaded-Fitting w/ EPDM O-Ring Seals ASTM D2467/F1970Special Price $1.00 Regular Price $1.25357 in stock
 -
 1/2 in. Schedule 80 PVC Union Female NPT Threaded High Pressure Fitting w/ EPDM O-Ring Seals ASTM D2467/F1970 FNPT x FNPTSpecial Price $0.50 Regular Price $0.75477 in stock
 -
 1 in. Schedule 80 PVC Union Pipe Fitting w/ EPDM O-RIng Seals for High Pressure Plumbing System ASTM D2467/F1970 Socket-TypeSpecial Price $1.50 Regular Price $1.952046 in stock
 -
 1 in. Schedule 80 PVC Union Threaded-Fitting w/ EPDM O-RIng Seals for High Pressure Plumbing Pipe System ASTM D2467/F1970Special Price $1.50 Regular Price $1.951265 in stock
 -
 1-1/4 in. Schedule 80 PVC Union Threaded-Fitting w/ EPDM O-Ring Seals ASTM D2467/F1970 FPT x FPTSpecial Price $2.75 Regular Price $3.25162 in stock
 -
 1-1/4 in. Schedule 80 PVC Union Pipe Repair/Joint Fitting w/ EPDM O-Ring Seals ASTM D2467/F1970 Slip/SocketSpecial Price $2.75 Regular Price $3.25297 in stock
 -
 2 in. SCH-80 PVC Union, Schedule-80 Pipe Repair Fitting w/ EPDM O-Ring Seals ASTM D2467/F1970 SocketSpecial Price $3.50 Regular Price $5.45860 in stock
 -
 2 in. SCH-80 PVC Union Threaded-Fitting w/ EPDM O-Ring Seals ASTM D2467/F1970 FPT x FPTSpecial Price $3.50 Regular Price $5.45196 in stock
 -
 1-1/2 in. Schedule 80 PVC Union Pipe Repair Fitting w/ EPDM O-Ring Seals for High Pressure Plumbing System (Socket) ASTM D2467/F1970Special Price $3.00 Regular Price $4.00622 in stock
 -
 1-1/2 in. Schedule 80 PVC Union Threaded-Pipe Fitting w/ EPDM O-Ring Seals for High Pressure Plumbing System FPT x FPT ASTM D2467/F1970Special Price $3.00 Regular Price $4.00111 in stock