The Basics of Installing PVC Pipes
Installing PVC (polyvinyl chloride) pipes is a common and straightforward task that is widely used in plumbing and irrigation systems. PVC pipes are known for their durability, corrosion resistance, and ease of installation, making them a popular choice for various applications.
Here are the basic steps for installing PVC pipes:
1. Planning: Before you start the installation process, it's crucial to plan the layout of your plumbing or irrigation system. Determine the pipe sizes, the locations of fittings, and the overall configuration of the system. Take accurate measurements to ensure you purchase the correct length of PVC pipes and the necessary fittings.
2. Gather Materials: Collect all the materials you'll need for the installation, including PVC pipes, fittings, primer, solvent cement, a saw or pipe cutter, a tape measure, a marking pencil, and sandpaper.
3. Cutting PVC Pipes: Use a hacksaw or a PVC pipe cutter to cut the PVC pipes to the desired lengths. Measure and mark the cutting points using a tape measure and a marking pencil. Ensure that the cuts are straight and clean to facilitate a proper fit with the fittings.
4. Deburring and Beveling: After cutting the pipes, use sandpaper to remove any burrs or rough edges on the cut ends. Bevel the edges slightly to make it easier to insert the pipes into fittings.
5. Dry Fitting: Before applying solvent cement, perform a dry fit by assembling the pipes and fittings without any adhesive. This allows you to ensure that everything fits properly and make any necessary adjustments.
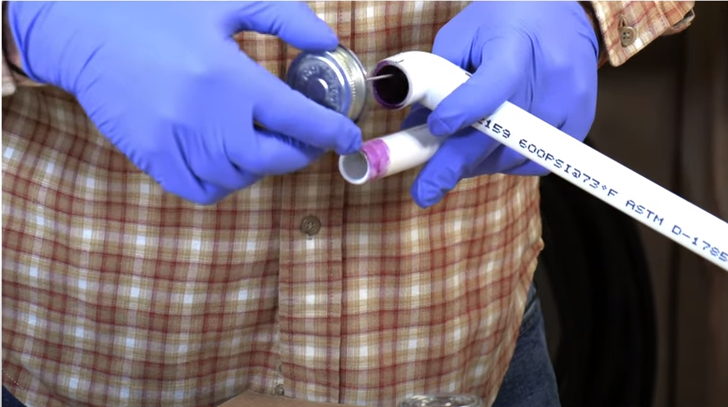
6. Cleaning and Priming: Clean the outside of the pipe and the inside of the fittings using a clean, dry cloth. Apply PVC primer to both the pipe and the fitting surfaces. The primer helps remove dirt and provides a better surface for the solvent cement to bond.
7. Applying Solvent Cement: Apply a thin, even layer of PVC solvent cement to both the pipe and the fitting. Make sure to cover the entire surface that will be in contact with the cement. Be quick, as the cement sets fast. Immediately push the pipe into the fitting, giving it a quarter turn to spread the cement evenly.
8. Holding and Curing: Hold the pipe and fitting together for a few seconds to allow the cement to set. It's essential to follow the manufacturer's guidelines for curing times before pressurizing the system. Curing times may vary based on the type and size of the PVC pipes and fittings.
9. Support and Alignment: Use appropriate hangers, clamps, or straps to support the PVC pipes and maintain proper alignment. Adequate support is essential to prevent sagging and ensure the long-term integrity of the system.
10. Test the System: Once the solvent cement has fully cured, test the system for leaks and proper functionality. This may involve pressurizing the pipes and checking for any signs of water leakage.
11. Backfilling: After successful testing, backfill the trenches or areas where the PVC pipes are installed. Ensure that the backfill material is free of rocks and debris that could damage the pipes.
By following these basic steps, you can install PVC pipes for plumbing or irrigation systems efficiently. It's essential to adhere to local building codes and regulations and follow the specific guidelines provided by the PVC pipe and solvent cement manufacturers. Proper installation ensures a reliable and long-lasting piping system.
-
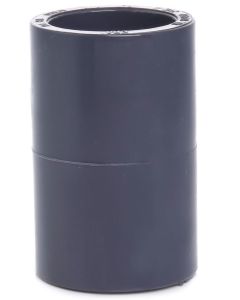
 3/4 in. Schedule 80 PVC Coupling/Coupler High Pressure Pipe Fitting NSF ASTM D2467Special Price $0.28 Regular Price $0.405556 in stock
 -
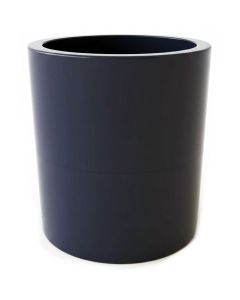
 1/2 in. PVC Coupling Schedule-40 Pipe Fitting NSF SCH40 ASTM D2466 1/2"$0.15 As low as $0.1428745 in stock
 -
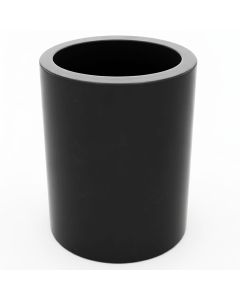
 1 in. PVC Coupling Schedule-40 Pipe Fitting NSF SCH40 ASTM D2466 1"$0.30 As low as $0.2721210 in stock
 -
 1/2 in. Schedule 80 PVC Coupling/Coupler SCH-80 High Pressure Pipe Fitting NSF ASTM D2467Special Price $0.18 Regular Price $0.252606 in stock
 -
 1 in. Schedule 80 PVC Coupling/Coupler Sch-80 Pipe Fitting (Socket) NSF ASTM D2467Special Price $0.39 Regular Price $0.533724 in stock
 -
 2 in. Schedule 80 PVC Coupling/Coupler Sch-80 Pipe Fitting (Socket) NSF ASTM D2467Special Price $1.10 Regular Price $1.67584 in stock
 -
 1-1/2 in. Schedule 80 PVC Coupling/Coupler Sch-80 Pipe Fitting (Socket) NSF ASTM D2467Special Price $0.85 Regular Price $1.16407 in stock
 -
 1-1/4 in. Schedule 80 PVC Coupling/Coupler Sch-80 Pipe Fitting (Socket) NSF ASTM D2467Special Price $0.65 Regular Price $0.88503 in stock
 -
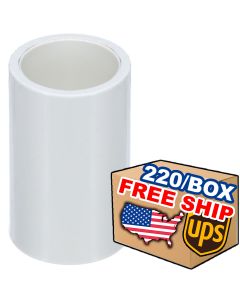 220/Box 3/4 in. Schedule 40 PVC Coupling/Coupler NSF Pipe Fitting SCH40 ASTM D2466$49.50Free Shipping for USA Mainland Only
 -
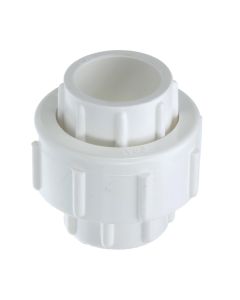
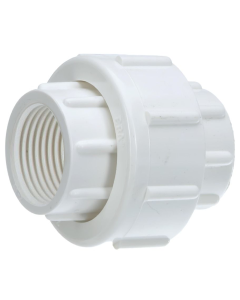
 1/2 in. Schedule 80 PVC Union Pipe Repair/Joint Fitting (Socket) w/ EPDM O-RIng Seals for High Pressure Plumbing System ASTM D2467/F1970Special Price $0.50 Regular Price $0.75314 in stock
 -
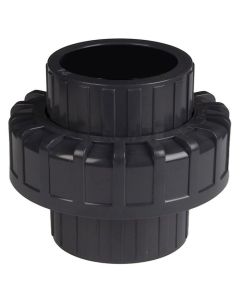 3/4 in. Schedule-80 PVC Slip/Socket Union w/ EPDM O-Ring Seals for High Pressure Plumbing System ASTM D2467/F1970Special Price $1.00 Regular Price $1.25906 in stock
 -
 1 in. Schedule 80 PVC Union Pipe Fitting w/ EPDM O-RIng Seals for High Pressure Plumbing System ASTM D2467/F1970 Socket-TypeSpecial Price $1.50 Regular Price $1.952046 in stock
 -
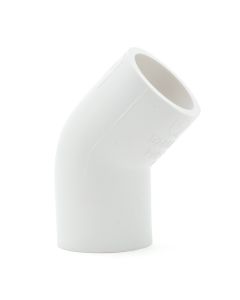
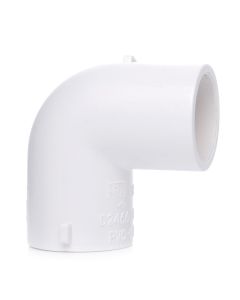 3/4 in. Schedule 40 PVC 90-Degree Elbow NSF Pipe Fitting SCH40 ASTM D2466$0.23 As low as $0.2112624 in stock
 -
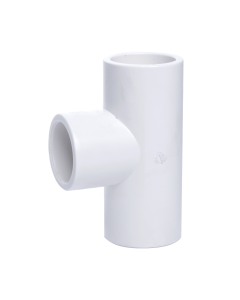 3/4 in. Schedule 40 PVC Tee 3-Way Pipe Fitting NSF/ASTM SCH40 ASTM D2466$0.35 As low as $0.3211847 in stock
 -
 1 x 3/4 in. Schedule 40 PVC Reducing Coupling NSF Sch-40 Pipe Fitting$0.40 As low as $0.361661 in stock